


Proper installation is the foundation of a successful outdoor kitchen project. Even the highest-quality outdoor kitchen cabinets — whether stainless steel or powder-coated aluminum — can underperform if they are not installed correctly. For dealers and builders, understanding the installation process helps ensure that projects are delivered on time, within budget, and to the expected quality standard.
This guide walks through the complete outdoor kitchen cabinet installation process, from site preparation to final inspection. Whether you are installing a modular outdoor kitchen cabinet system for a backyard patio or coordinating a larger project for a villa or resort, this step-by-step guide will help you avoid common mistakes and deliver a professional result.
Why Proper Installation Matters
Outdoor kitchen cabinets — including BBQ grill cabinets and modular cooking stations — face conditions that indoor cabinets do not: weather exposure, temperature changes, moisture, salt air, and heavy use. A proper installation ensures:
- Longevity: Cabinets that are installed correctly will last longer and resist weather damage.
- Safety: Proper leveling and secure mounting prevent accidents and structural issues.
- Functionality: Doors, drawers, and moving parts operate smoothly when cabinets are installed level and square.
- Customer satisfaction: A clean, professional installation reflects well on the dealer or builder and reduces callback issues.
For dealers and builders, a reliable installation process also means fewer project delays, less rework, and a stronger reputation in the market.
Step 1: Site Preparation
Before any cabinet arrives on site, the installation area must be properly prepared. Skipping this step is one of the most common causes of installation problems.
Check the Base Surface
The base surface should be:
- Level: Use a long spirit level to check the entire area. Uneven surfaces can cause cabinets to shift or doors to misalign.
- Stable: The surface should be solid concrete, pavers, or a properly constructed deck. Loose or shifting surfaces are not suitable.
- Drained: Ensure the area has proper drainage to prevent water from pooling under the cabinets.
If the surface is not level, it should be corrected before installation. This may involve grinding high spots, filling low areas, or installing a new concrete pad.
Verify Utilities
Confirm that all utility connections are in place:
- Gas lines: If the outdoor kitchen includes a gas grill, the gas line should be installed and tested by a licensed professional.
- Electrical: Outlets, lighting, and appliance connections should be ready. All electrical work must comply with local codes.
- Plumbing: If the design includes a sink, water supply and drain lines should be installed and pressure-tested.
Clear the Area
Remove any debris, construction materials, or obstacles from the installation area. Ensure there is enough space to move cabinets into position without damage.
Step 2: Unpacking and Inspection
When the outdoor kitchen cabinets arrive, inspect them before installation begins.
Check for Shipping Damage
Look for dents, scratches, or other damage to the aluminum frame or stainless steel surfaces that may have occurred during transit. If damage is found, document it with photos and contact the supplier immediately.
Verify Components
Check that all modules, panels, hardware, and accessories are present. Compare the delivery against the packing list or order confirmation. Missing parts can delay the installation.
Acclimate the Cabinets
If the cabinets have been stored in a different climate, allow them to acclimate to the site conditions for at least 24 hours before installation. This helps prevent expansion or contraction issues after installation.
Step 3: Layout and Positioning
Before securing any cabinet, lay out the full design to confirm the positioning.
Mark the Layout
Use a chalk line or marker to outline where each cabinet module will be positioned. This helps visualize the final layout and identify any issues before installation begins.
Start with the Corner or Reference Point
Begin installation from a corner or a fixed reference point, such as a wall or a built-in feature. This ensures that the layout is square and aligned with the site.
Position the Modules
For modular outdoor kitchen cabinets, position each module according to the layout plan. Leave the protective wrapping on until the module is in position to prevent scratches or damage during handling.
Step 4: Leveling and Securing
Proper leveling is critical for the functionality and appearance of the outdoor kitchen.
Level Each Module
Use shims to level each cabinet module. Check level in multiple directions: front-to-back, side-to-side, and diagonally. A module that is not level will cause doors and drawers to operate poorly.
Secure the Cabinets
Once leveled, secure each module to the base or to adjacent modules using the provided hardware. For most installations:
- Use stainless steel screws to prevent rust and corrosion. For aluminum outdoor kitchen cabinets, use hardware compatible with aluminum to avoid galvanic corrosion.
- Attach cabinets to each other through the pre-drilled holes in the side panels.
- If required by local codes, anchor the cabinets to the base surface.
Check for Square
After securing the modules, check that the entire layout is square. Measure diagonally from corner to corner. If the measurements are not equal, adjust the positioning before proceeding.
Step 5: Utility Connections
With the cabinets in place, connect the utilities.
Gas Connections
If the outdoor kitchen includes a gas grill or cooktop, connect the gas line according to the manufacturer’s instructions. All gas connections should be leak-tested and comply with local regulations.
Electrical Connections
Connect any electrical components, such as lighting, outlets, or appliance power. Ensure all connections are weatherproof and comply with local electrical codes.
Plumbing Connections
If the design includes a sink, connect the water supply and drain lines. Check for leaks and ensure proper drainage.
Step 6: Installing Doors, Drawers, and Hardware
With the cabinets secured and utilities connected, install the doors, drawers, and hardware.
Hang the Doors
Attach the doors to the cabinets using the provided hinges. Adjust the hinges to ensure the doors are aligned and operate smoothly.
Install Drawers
Insert the drawers into the cabinet openings. Check that they slide smoothly and close properly. Adjust the drawer slides if necessary.
Attach Handles and Pulls
Install the handles or pulls on the doors and drawers. Ensure they are aligned and securely fastened.
Step 7: Sealing and Weatherproofing
Outdoor kitchen cabinets must be properly sealed to resist weather and moisture.
Seal the Joints
Apply a high-quality exterior sealant to all joints where the cabinets meet the wall, floor, or other surfaces. For aluminum and stainless steel outdoor kitchen cabinets, use a sealant compatible with metal surfaces to prevent water from entering and causing damage.
Check the Countertop Seams
If the outdoor kitchen includes a countertop, ensure all seams are sealed and the countertop is properly attached to the cabinets.
Inspect the Weatherproofing
Check that all openings, such as those for utilities, are properly sealed. Ensure that the cabinet interiors are protected from moisture.
Step 8: Final Inspection
Before presenting the outdoor kitchen to the client, conduct a thorough final inspection.
Check the Operation
Open and close all doors and drawers. Ensure they operate smoothly and close properly. Check that the hinges and slides are adjusted correctly.
Inspect the Finish
Look for any scratches, dents, or other damage to the cabinet finish. Touch up any minor issues or report damage to the supplier.
Test the Utilities
Test all gas, electrical, and plumbing connections. Ensure everything is functioning correctly and there are no leaks.
Clean the Installation
Remove any protective wrapping, clean the cabinets, and polish the surfaces. A clean installation presents a professional image to the client.
Common Installation Mistakes to Avoid
Avoiding these common mistakes will help ensure a successful installation:
- Skipping site preparation: Installing on an uneven or unstable surface leads to alignment and durability issues.
- Not checking for level: Cabinets that are not level will have doors and drawers that do not operate properly.
- Using the wrong fasteners: Always use stainless steel or corrosion-resistant fasteners for outdoor installations.
- Ignoring utility codes: All gas, electrical, and plumbing work must comply with local regulations. Use licensed professionals when required.
- Rushing the final inspection: A thorough inspection catches issues before they become client complaints.
Installation Tips for Specific Project Types
Backyard Patio Installations
For backyard patios, ensure the installation does not interfere with existing landscaping or drainage patterns. Consider the location of overhead structures, such as pergolas or roofs, and ensure there is adequate clearance for the outdoor kitchen cabinets. Stainless steel countertops and BBQ grills should also have sufficient ventilation clearance.
Villa and Resort Installations
For larger projects such as villas or resorts, coordinate the installation with other trades. Ensure the outdoor kitchen cabinets are installed in sequence with the surrounding hardscape and landscaping to avoid damage from other construction activities.
Rooftop Installations
Rooftop installations require special attention to weight limits and wind exposure. Lightweight aluminum outdoor kitchen cabinets are often preferred for rooftop projects due to their reduced weight. Ensure the structure can support the weight of the cabinets and that the installation is secure against wind loads.
Start Your Next Outdoor Kitchen Installation with Cubox
At Cubox Outdoor Living, we design our modular outdoor kitchen cabinets and covered BBQ grill cabinets to be easy to install without sacrificing quality or durability. Our covered BBQ grill cabinet systems and modular aluminum outdoor kitchen cabinets are engineered for precision fit, weather resistance, and long-term performance.
Whether you are a dealer installing your first outdoor kitchen or a builder coordinating a large-scale project, our team is ready to support you. We provide detailed installation documentation, technical support, and guidance to help you deliver a professional result.
If you are planning an outdoor kitchen project and need a reliable cabinet system, contact Cubox Outdoor Living to discuss your requirements, request a layout recommendation, or get a quotation.
FAQ
How long does it take to install an outdoor kitchen cabinet system?
The installation time depends on the size and complexity of the project. A standard modular outdoor kitchen cabinet system can typically be installed in 1-3 days, including utility connections. Larger or more complex projects may take longer.
Do I need a special foundation for outdoor kitchen cabinets?
Outdoor kitchen cabinets should be installed on a level, stable surface such as concrete, pavers, or a properly constructed deck. The surface must be able to support the weight of the cabinets and resist moisture.
Can I install outdoor kitchen cabinets myself?
While modular outdoor kitchen cabinets are designed for straightforward installation, we recommend that installation be performed by experienced dealers or builders. Proper installation ensures the cabinets function correctly and last for years.
What tools are needed for installation?
Basic installation tools include a spirit level, drill, screwdrivers, measuring tape, and shims. Utility connections may require specialized tools and should be performed by licensed professionals.
How do I maintain outdoor kitchen cabinets after installation?
Regular cleaning with mild soap and water is usually sufficient. Avoid abrasive cleaners or tools that could damage the finish. Periodically check the seals and hardware, and reapply sealant as needed.
Are Cubox outdoor kitchen cabinets weatherproof?
Yes. Cubox outdoor kitchen cabinets are built with powder-coated aluminum frames and stainless steel components for superior weather resistance. Our covered BBQ grill cabinet systems feature a design that opens for cooking and closes for protection, helping to shield the cabinet and contents from weather when not in use.
Related Articles
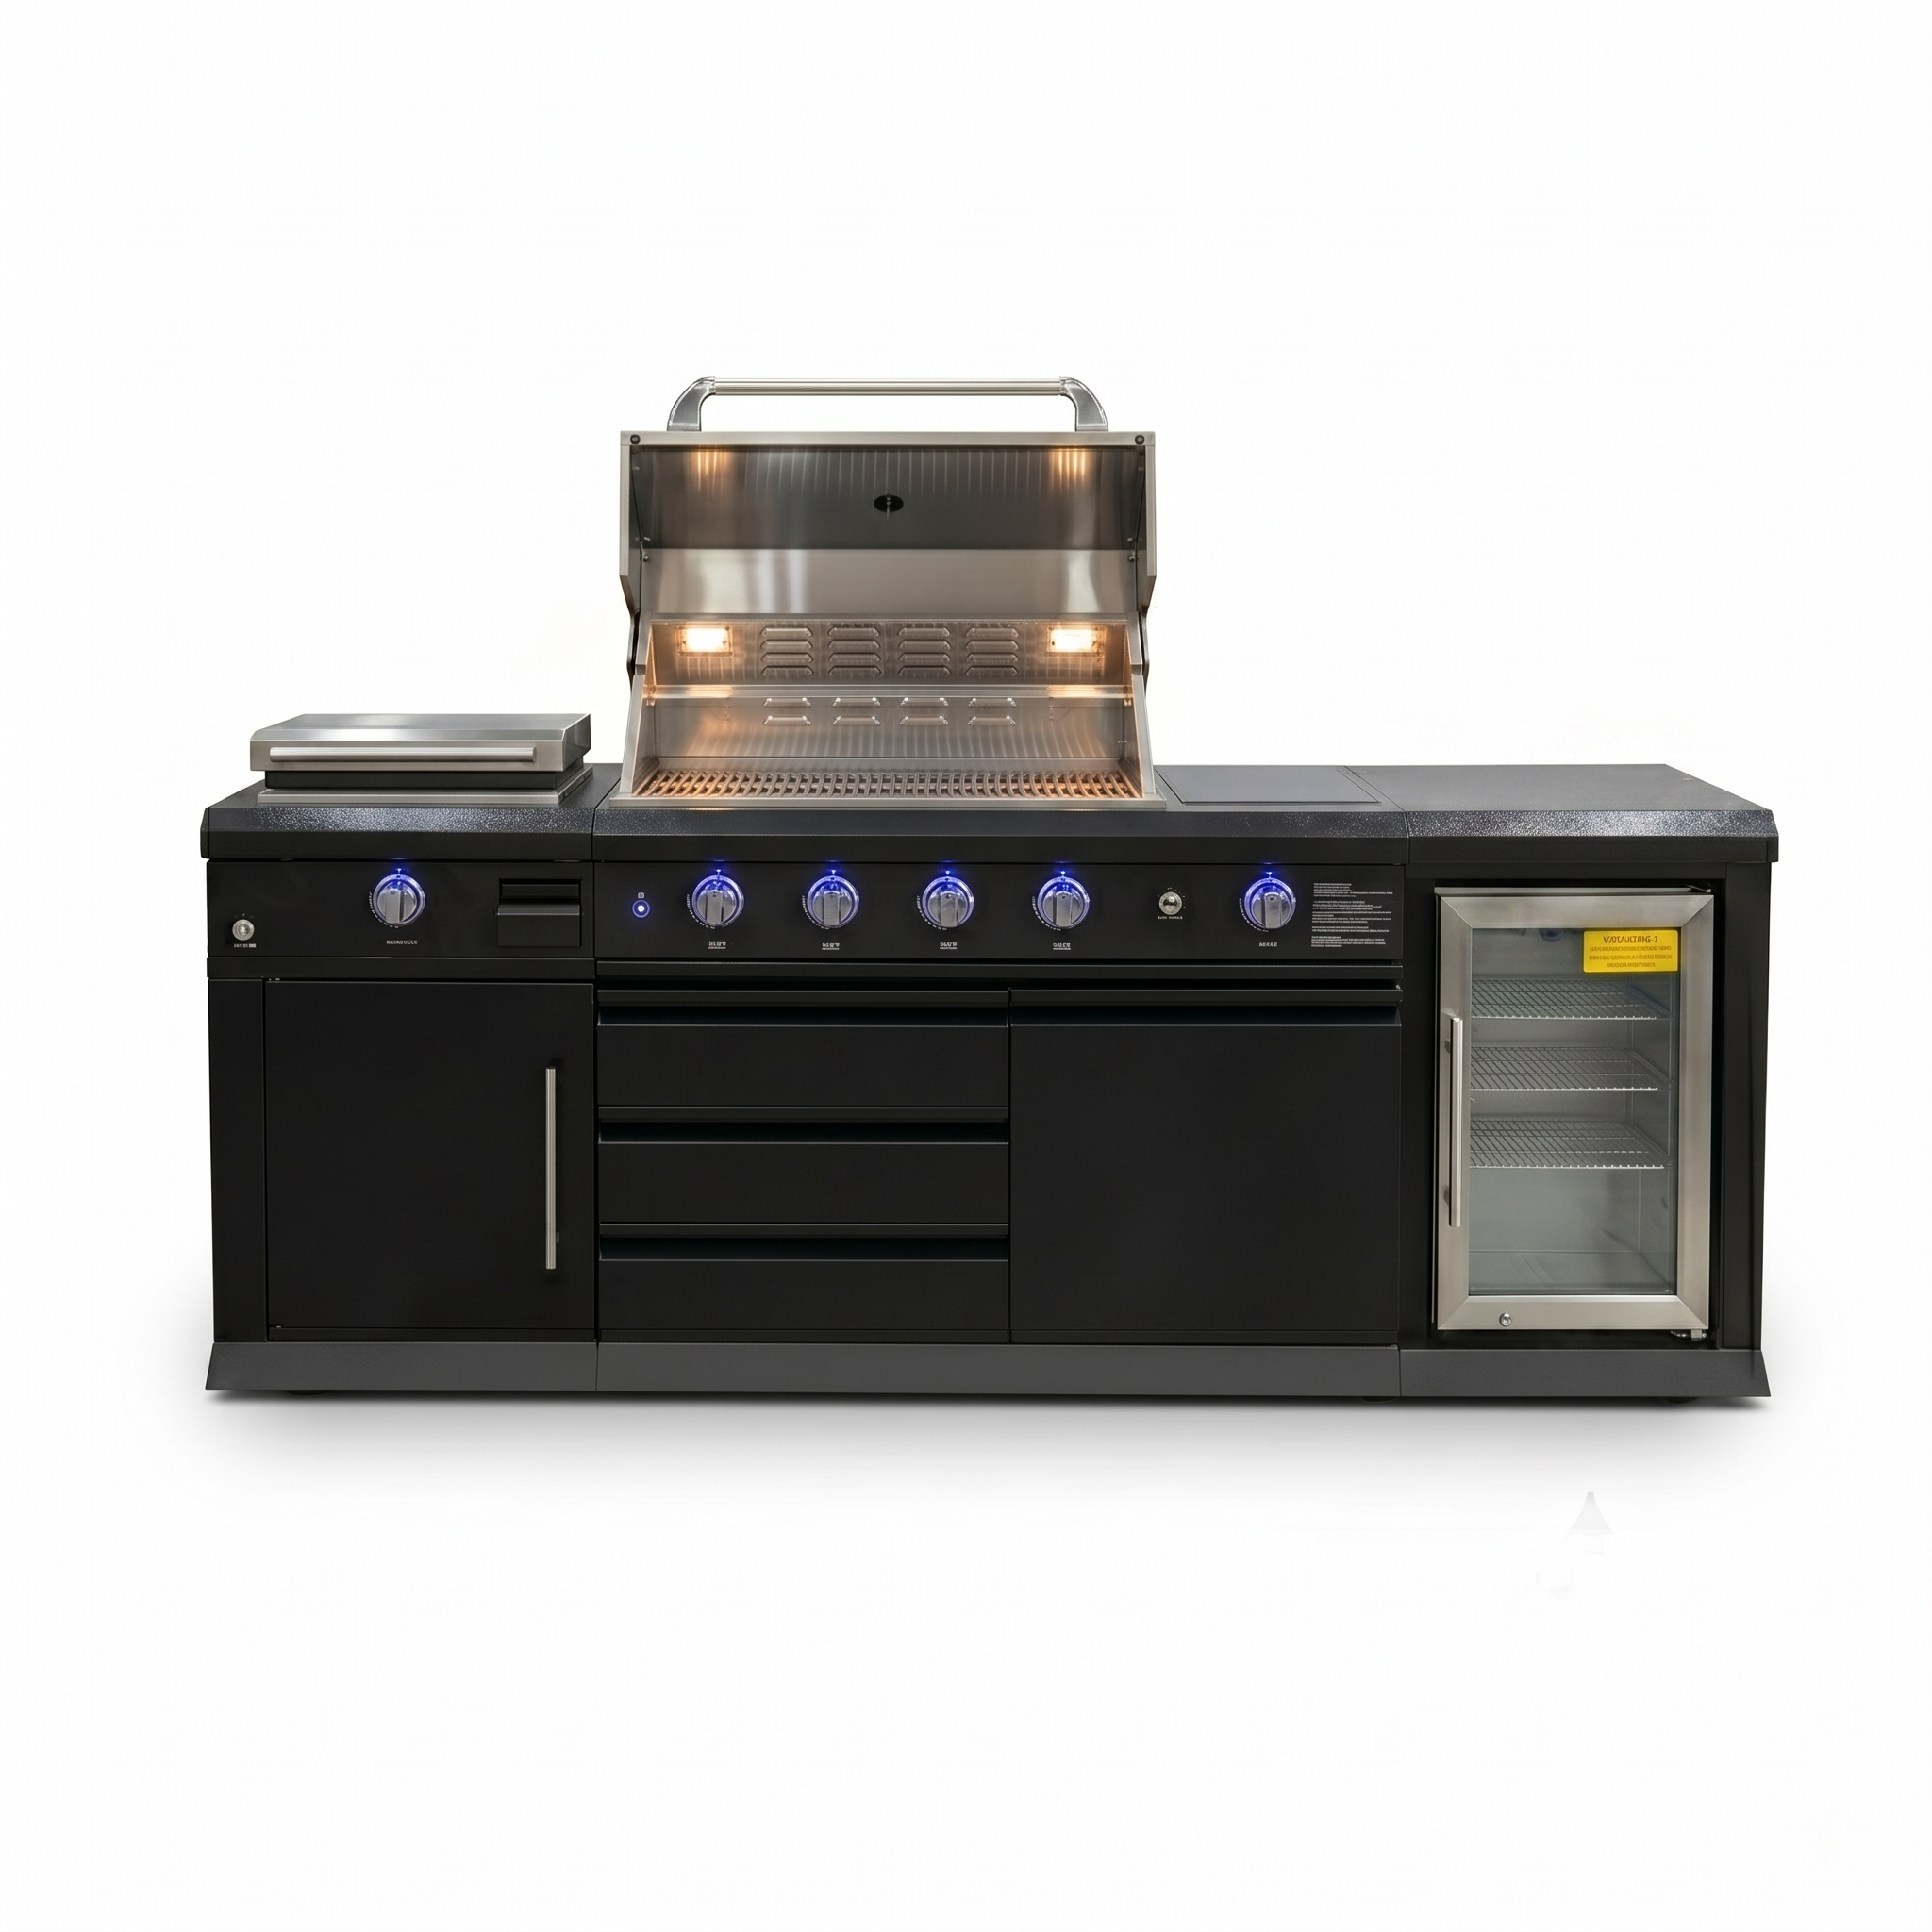
Modular Outdoor Kitchen Cabinets: Benefits for Dealers and Builders
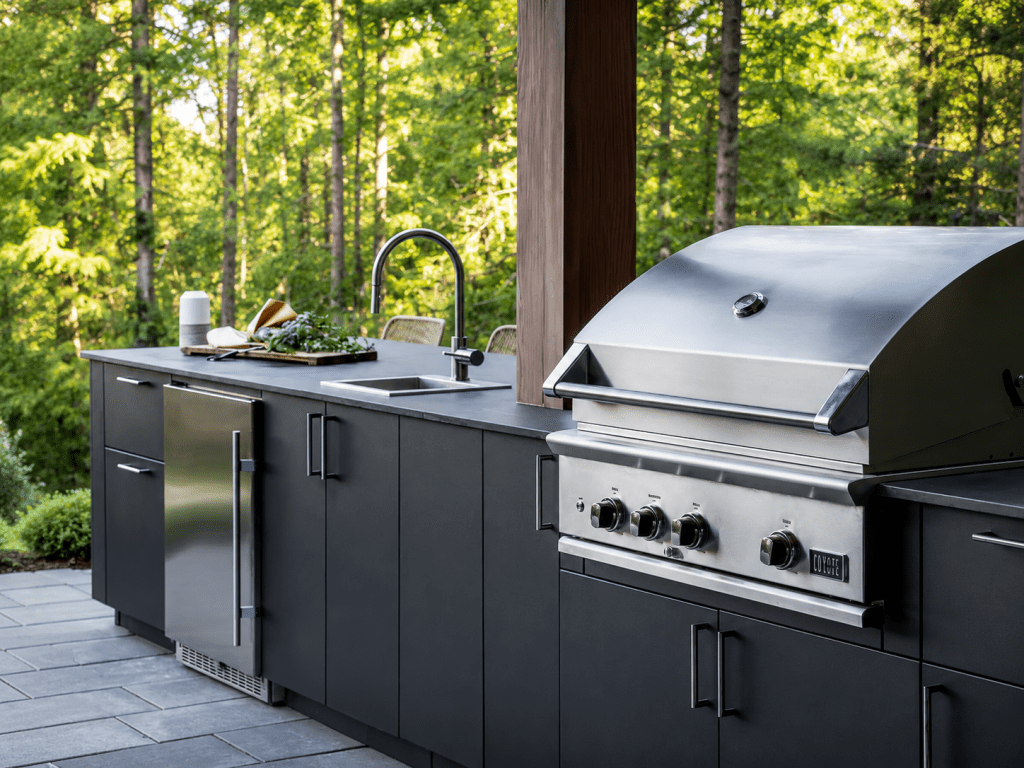
Aluminum vs Stainless Steel Outdoor Kitchen Cabinets: How to Choose

Outdoor Kitchen Cabinet Manufacturer: What Project Buyers Should Check Before Ordering
Related Products
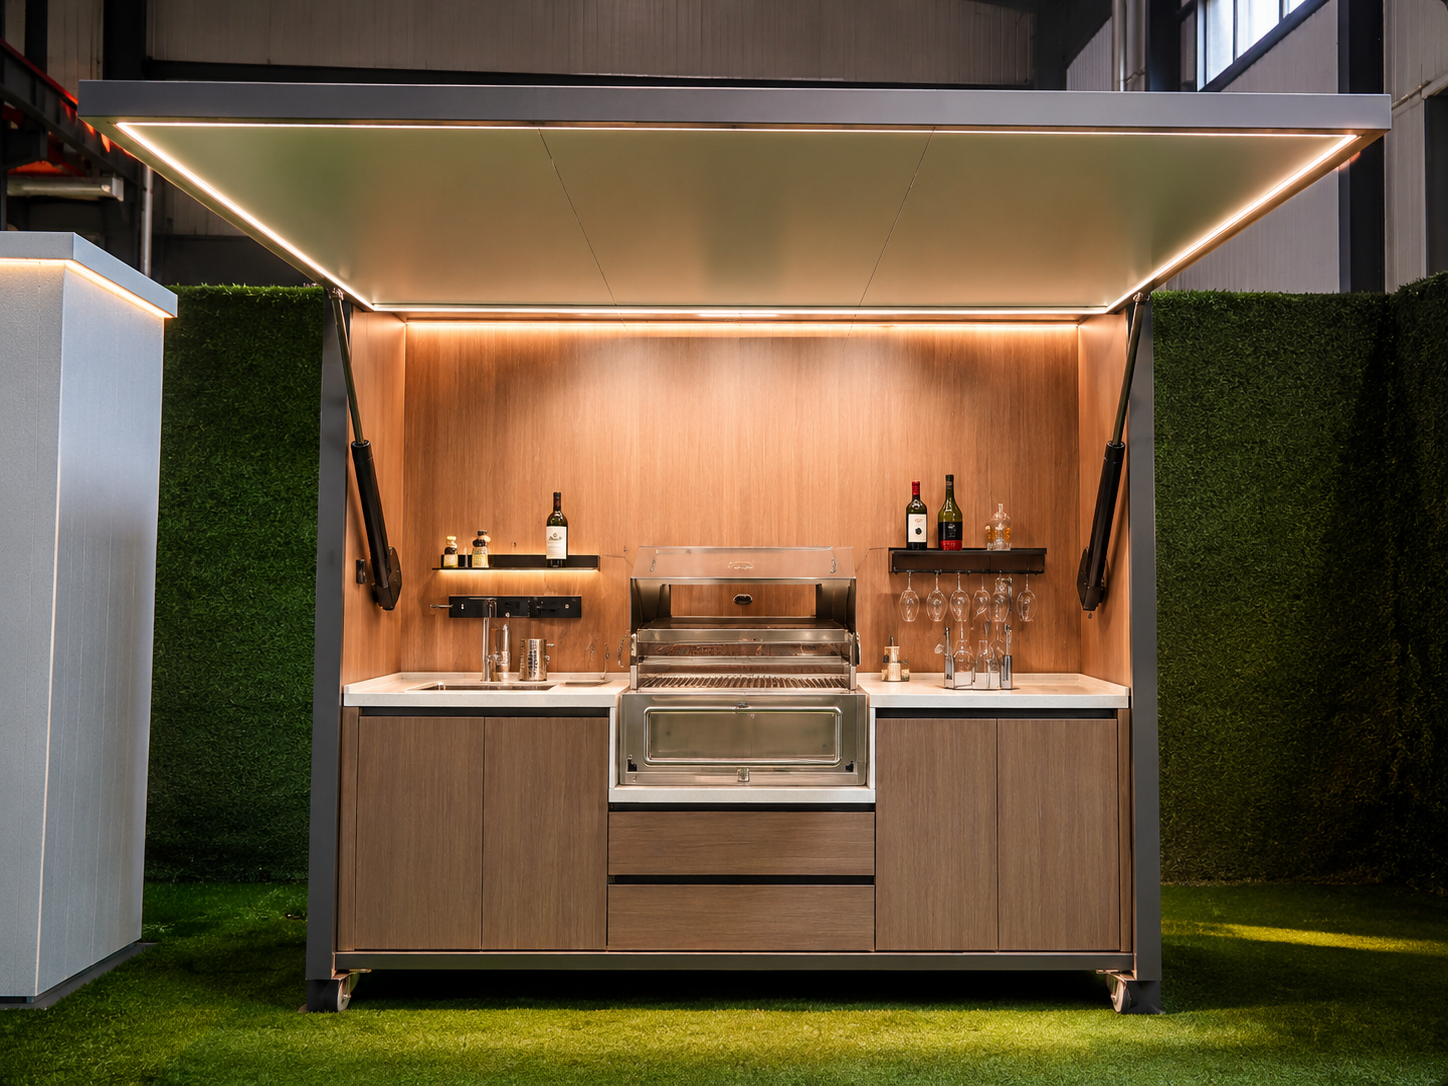
OKC-003 Outdoor Kitchen Cabinet Standard Version
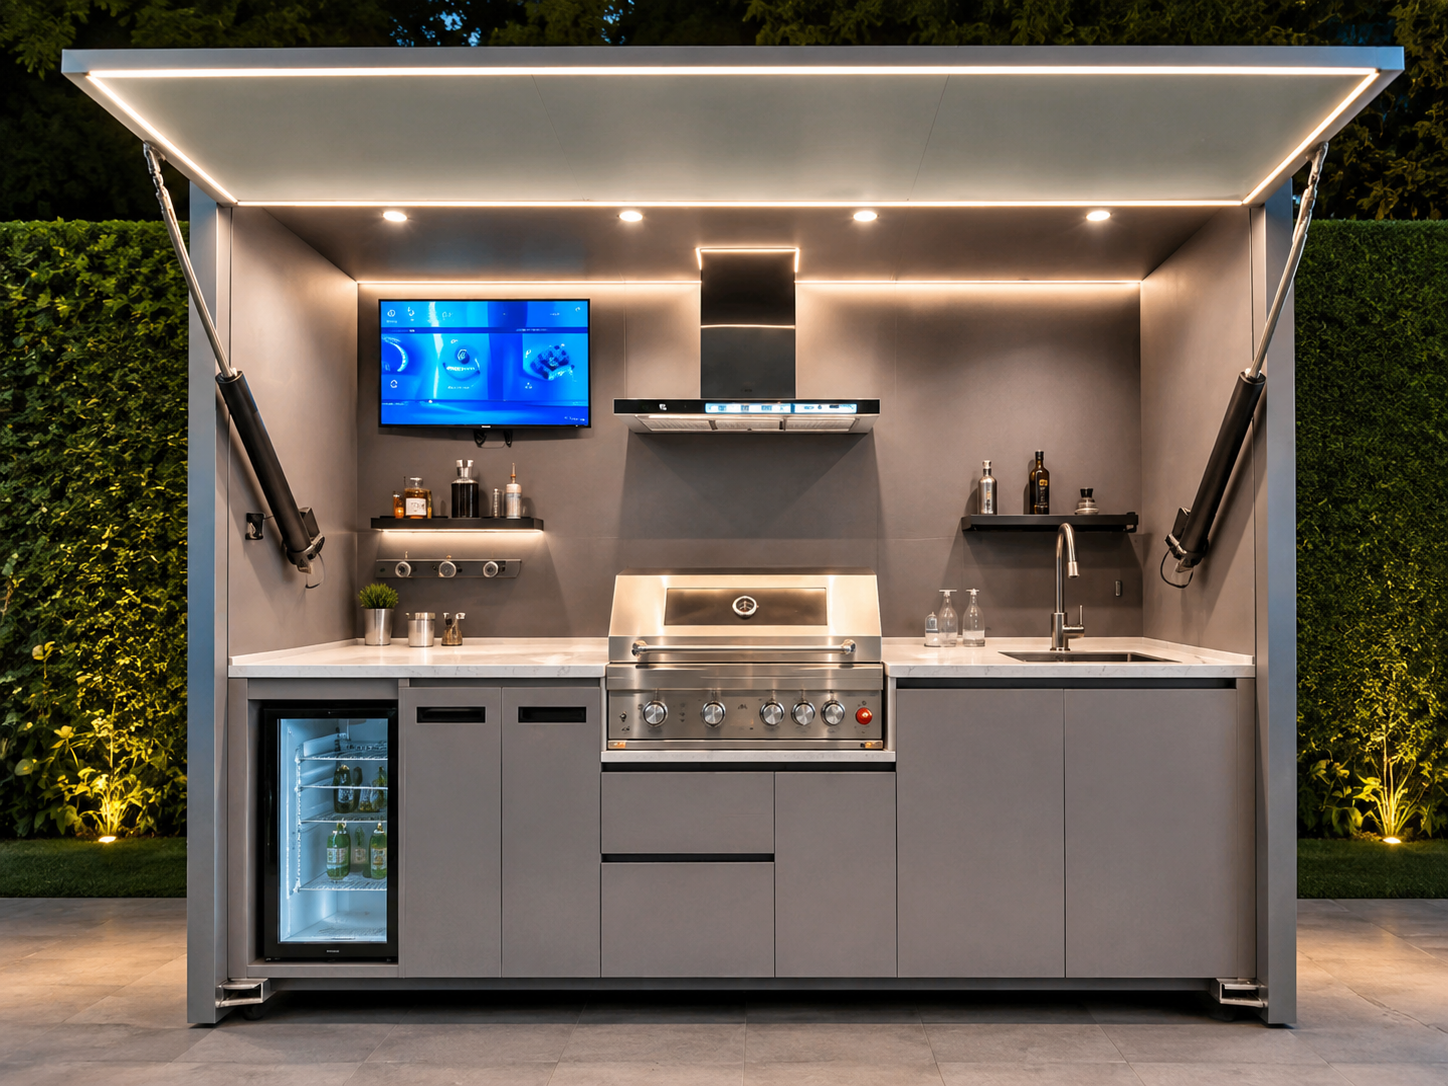
OKC-002 Outdoor Kitchen Cabinet Deluxe Version

OKC-001 Outdoor Kitchen Cabinet Ultra Version
Talk to Our Outdoor Kitchen Cabinet Team
Send Your Outdoor Kitchen Project Details
Use this area for cabinet layout questions, covered or modular direction, project coordination, and quote preparation.